
Ready to Get Your Logo?
Logos can be used everywhere and are great for personal branding. However, arguably the most important place to put your logo is in a new or existing presentation.
Online and offline presentations are tried-and-true ways a person or business can increase brand awareness, promote a product or service, and acquire new customer leads.
Further, presentations can even be used at family gatherings and nonprofit events. Regardless, you can take a presentation to the next level by inserting a logo into one – or more – of the slides.
To ensure that you’re properly adding your slides logo to your presentation software, we’ve outlined a step-by-step guide on how to insert your logo into the leading presentation creators. We’ll alos cover where to put a logo in a company presentation. You’ll be presenting your personal brand in no time!
Microsoft PowerPoint
Microsoft PowerPoint is the most well-known and widely used presentation software on the market. And for good reason. It was one of the first ever created and has been consistently updated and modified by Microsoft.
If you’ve ever sat through a company meeting or watched a slideshow of family pictures, chances are you were looking at a PowerPoint presentation. So, it’s therefore extremely important that you know and understand how to add a logo to PowerPoint.
This way, you can personalize and brand each one of your presentations so people remember your company logo. To help, we’ve outlined the steps needed to add your beautiful logo to a PowerPoint presentation.
1. Open the PowerPoint presentation you want by finding the existing file on your computer. If you want to start a new one, simply open the PowerPoint program or application.
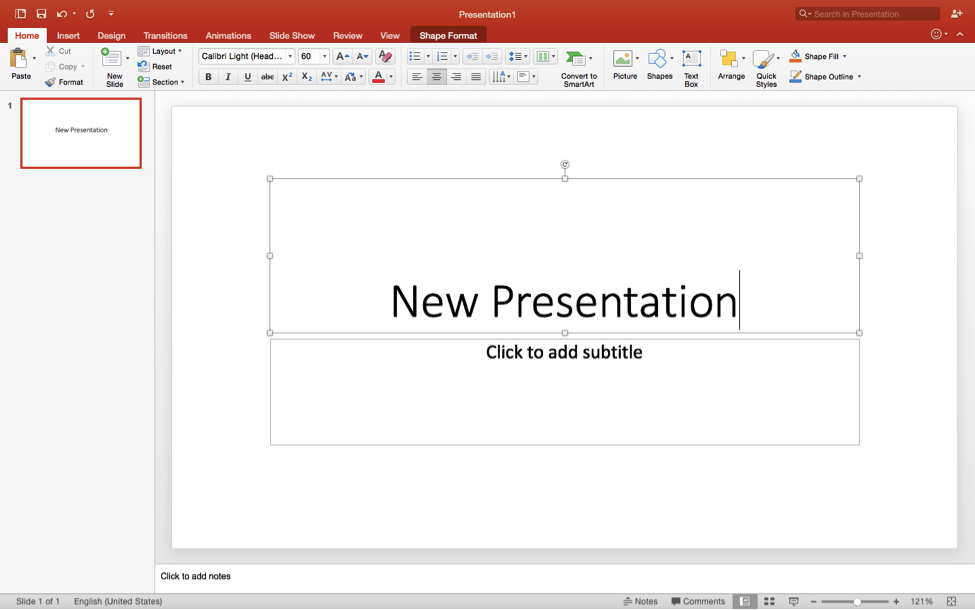
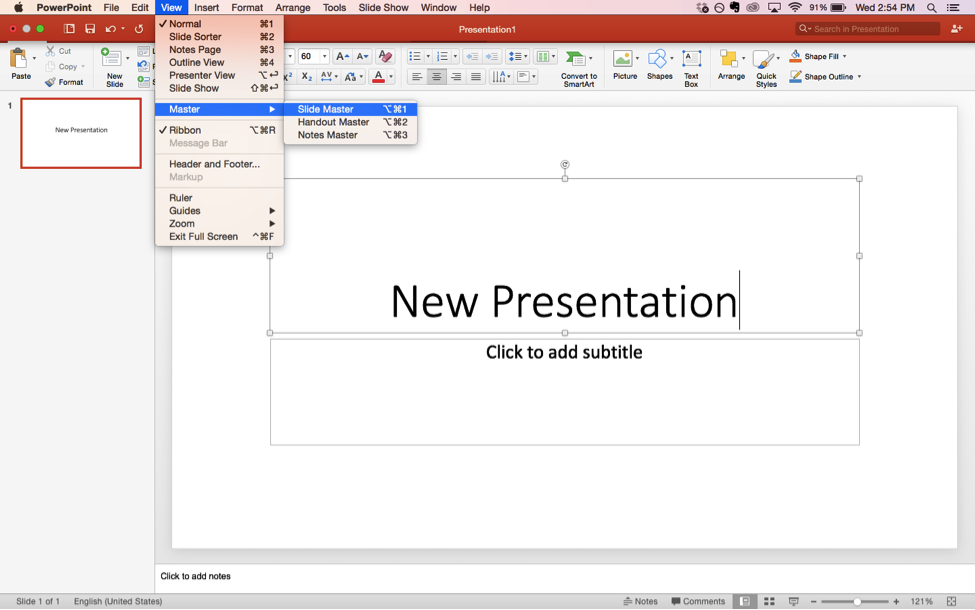
2. Once the correct PowerPoint presentation file is opened, navigate to “Slide Master” by clicking “View” in the upper menu and then moving the cursor over to “Master” and then “Slide Master.” Click the “Slide Master” button.
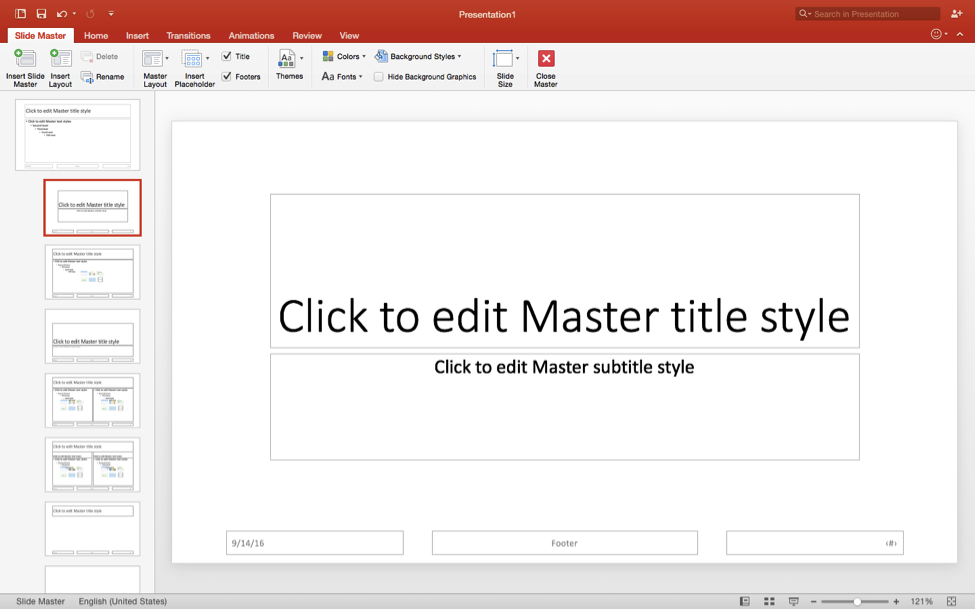
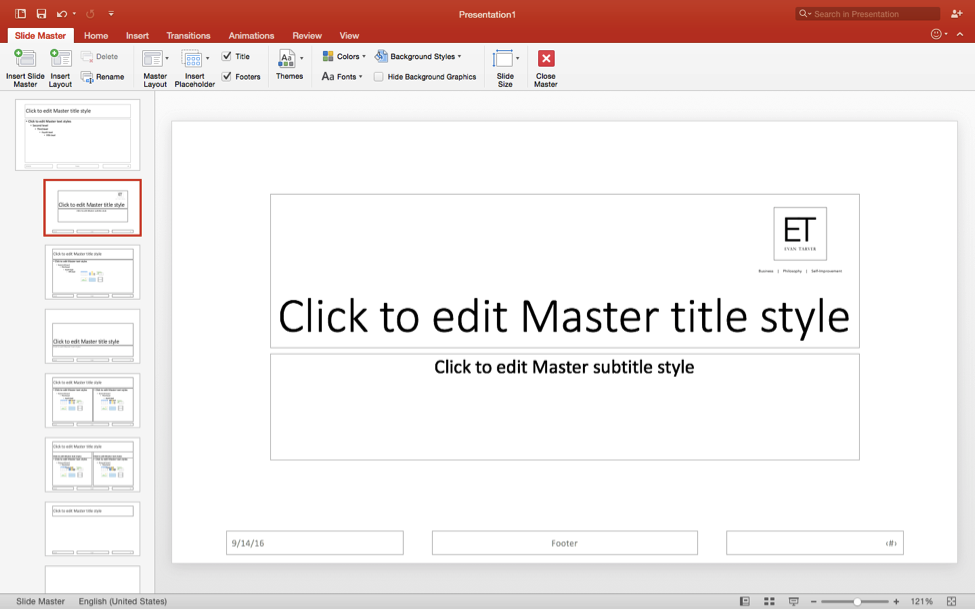
3. This will bring up the “Slide Master” menu, seen below.
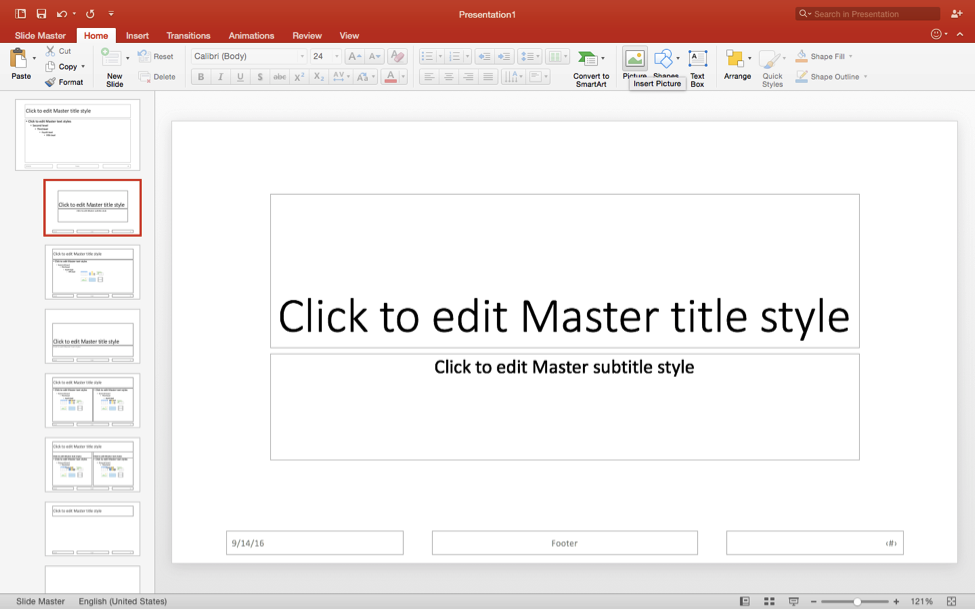
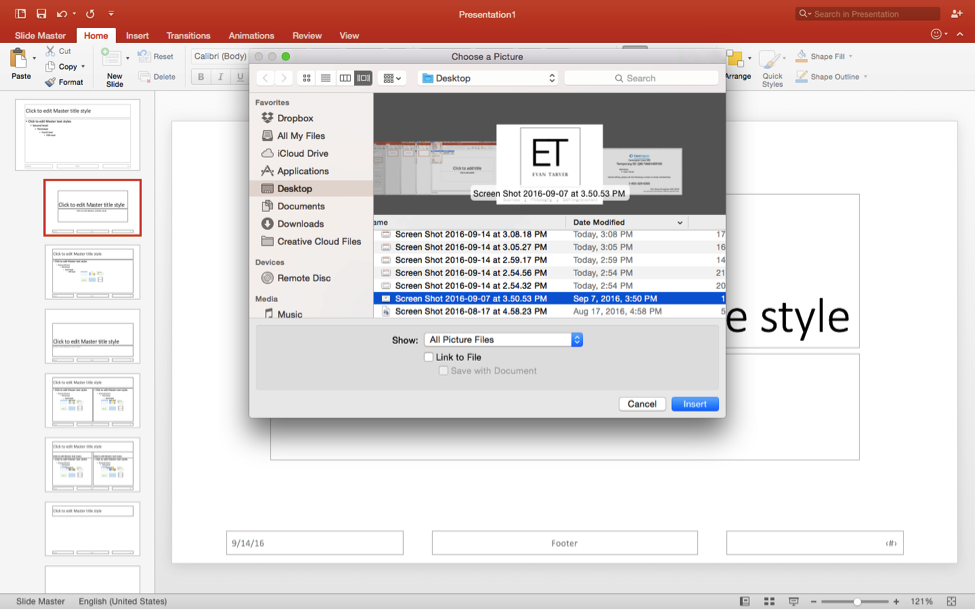
4. Navigate to the “Home” menu to the right of the “Slide Master” menu and click on the “Picture” icon to the right side of the menu ribbon, highlighted below.
5. From there, navigate to the logo file on your computer and click “Insert.”
6. This will insert your logo into the Slide Master, seen below.
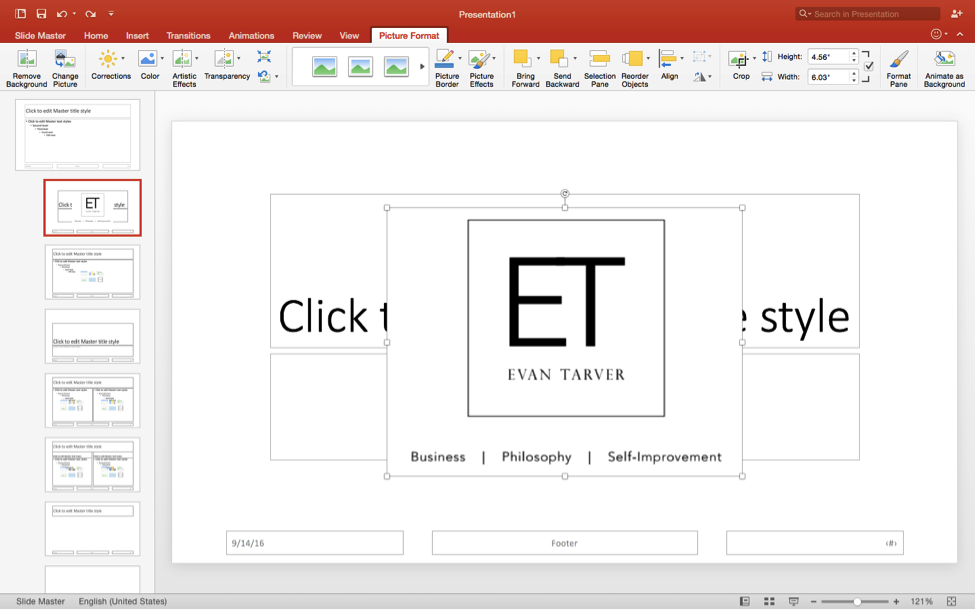
7. From there, all you have to do is click on the logo and drag it to the position you want and then resize it by dragging the corners until it reaches your desired size.
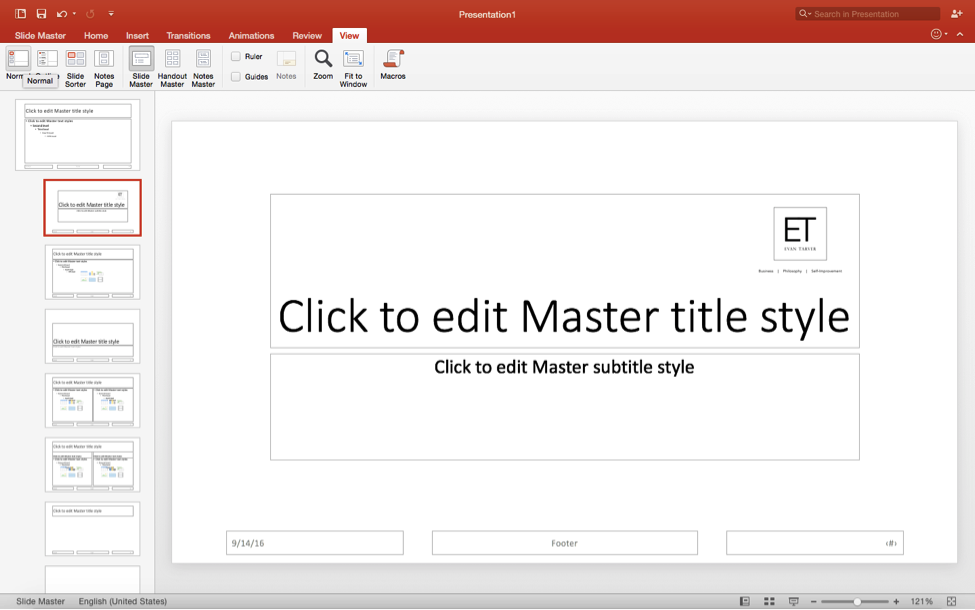
8. Navigate to the “View” menu at the far right of the menu ribbon and then click “Normal” on the far left of the menu, highlighted below. Congratulations! Your logo will now show up in your desired location on each slide.
Prezi, if you haven’t heard, is quite possibly the most robust and interactive presentation software available. With a Prezi, your presentations can spin, zoom in, zoom out, and add cool transitions to your slides.
The best part? It’s free! Yes, you read it right. However, all free Prezi’s are publicly viewable, so if you want to be covert with your presentations, you can subscribe for around $5.00 a month. It’s also a web app, so unlike PowerPoint, which is a downloaded program on your computer, you can access your Prezi’s wherever there’s a web browser and Internet access.
To help make your Prezi even more amazing, we’ve outlined the steps needed to add your personal logo.
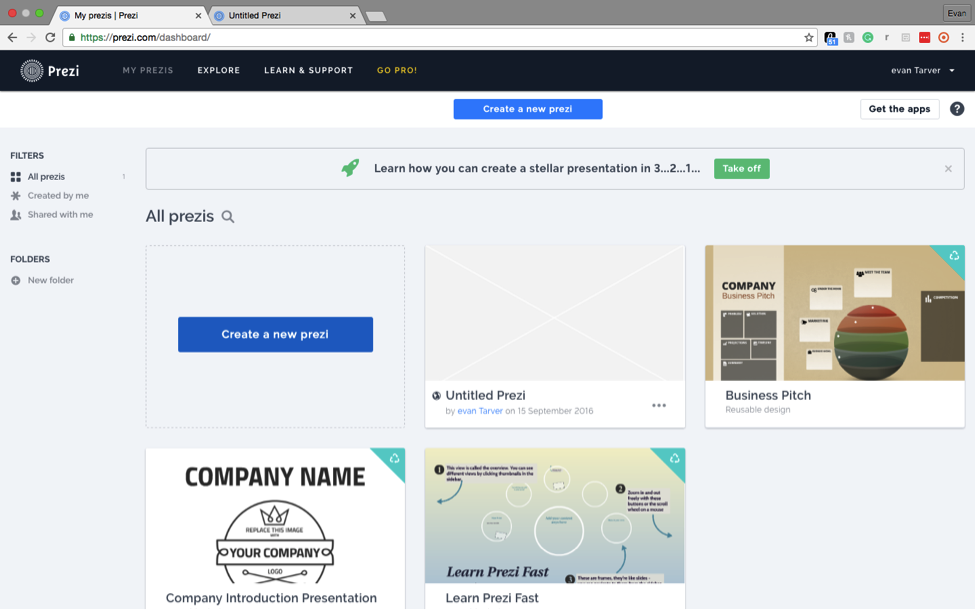
1. Log into Prezi.com and click on your existing Prezi or create a new presentation by clicking “Create a New Prezi” in blue, below.
2. Once you’ve opened your Prezi, you’ll see a similar layout to the PowerPoint presentations you’re probably used to, seen below.
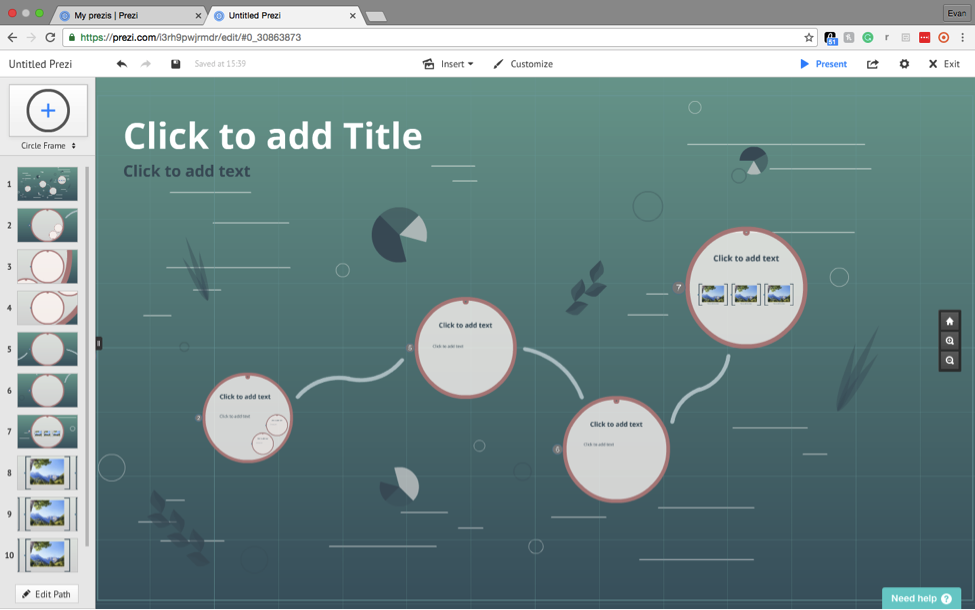
3. Now, Prezi’s are really cool in that they’re technically one large page, and then each slide essentially zooms into a part of the page. So, for example, each one of the round gray circles you see would be a slide in the presentation.
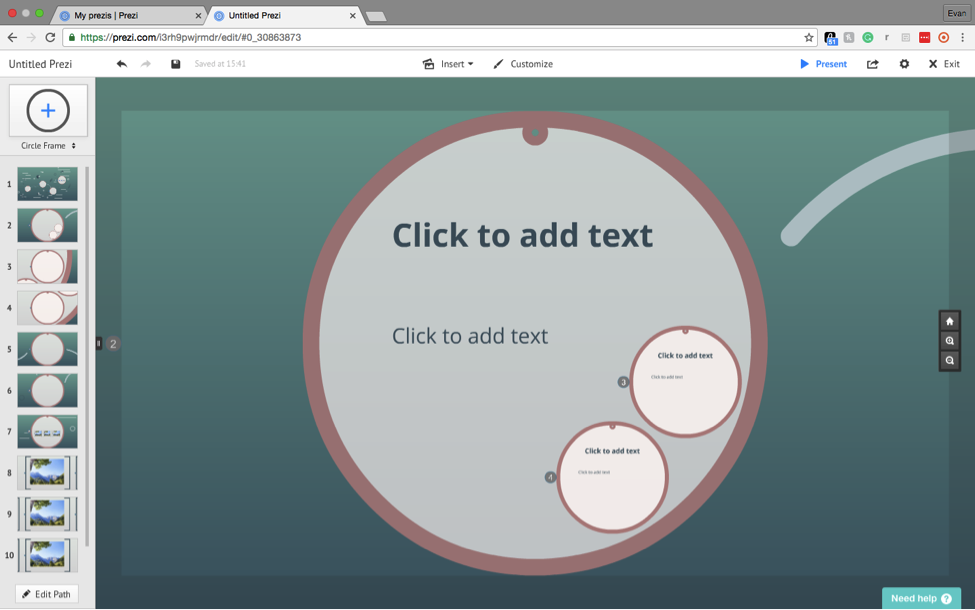
This means that you can choose where you want to add your logo. If you want to add a logo to the leftmost circle, for example, start by double-clicking on the circle itself. This will zoom in on the desired area.
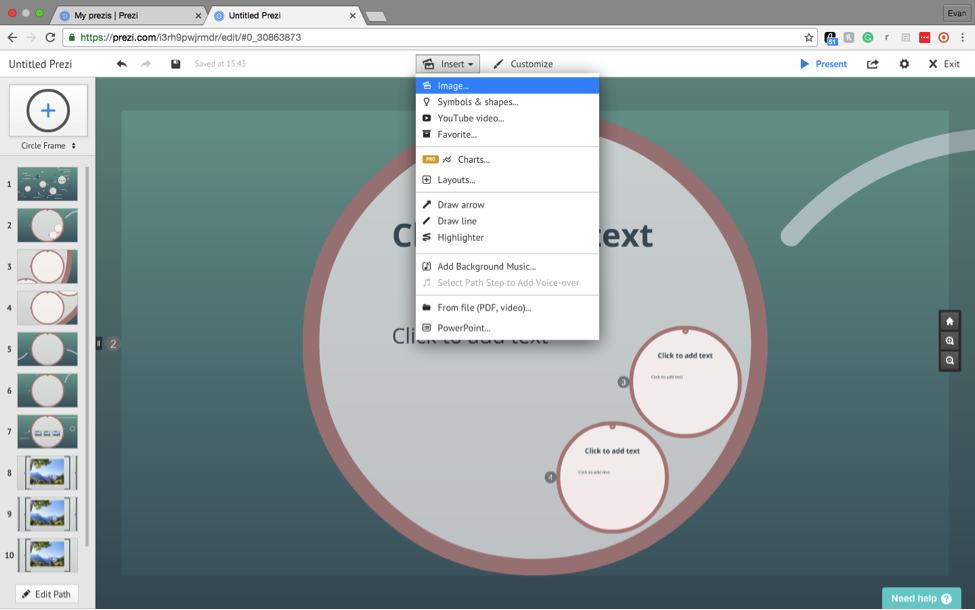
4. From there, navigate to the “Insert” tab in the top-middle of the screen, next to “Customize,” to bring up a drop down menu. Click the “Image” option to insert an image.
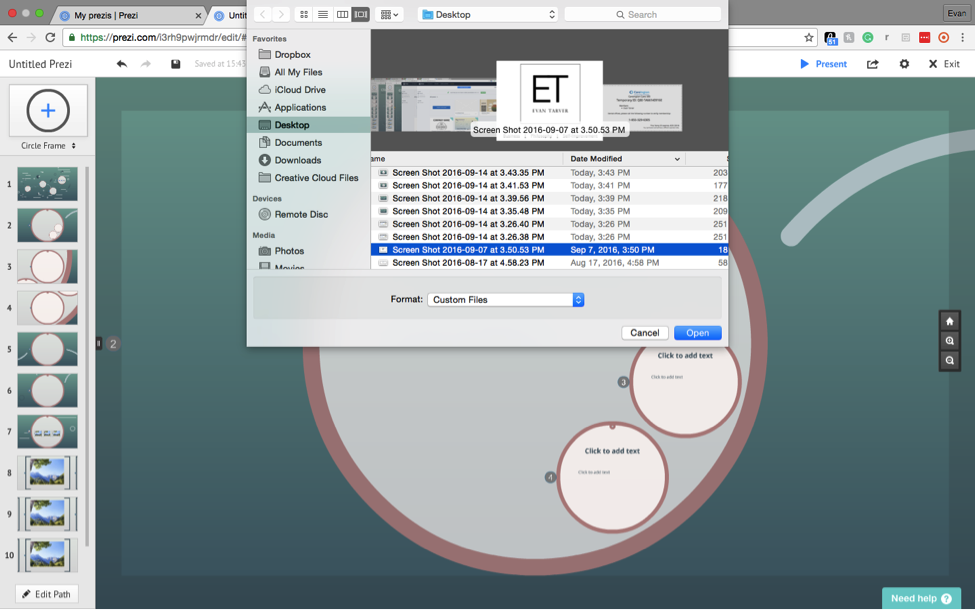
5. This will bring up all the files on your computer. Find your logo file and click “Open.”
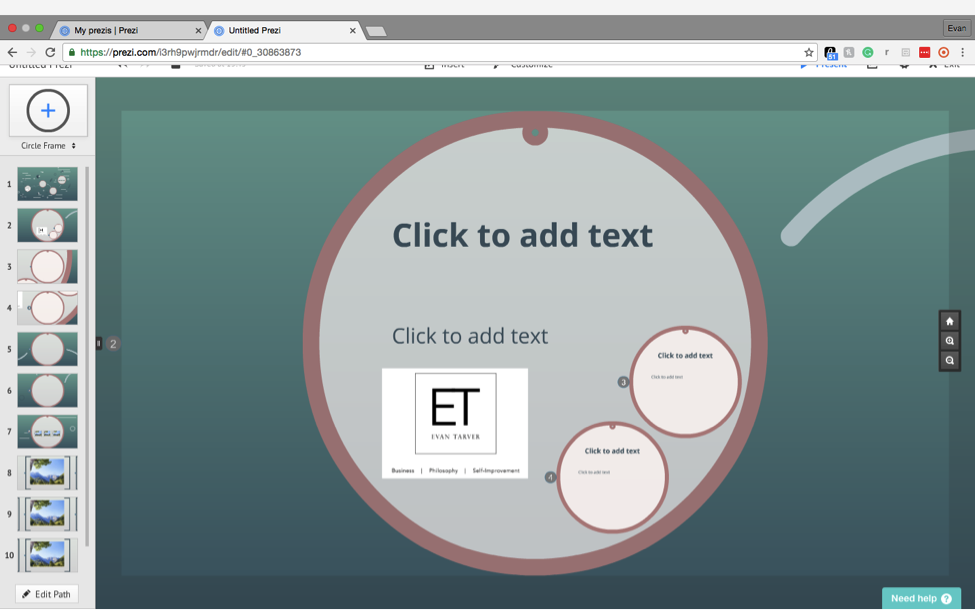
6. This will insert your logo into the Prezi.
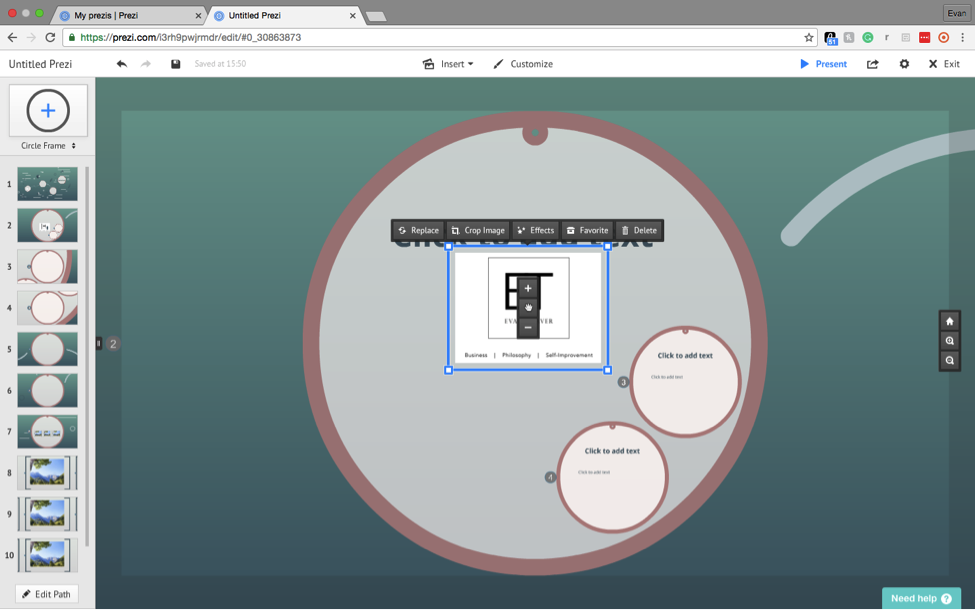
7. From there, you can move it and resize it by clicking on the logo and using the plus, minus, and hand buttons. Great! You’ve added your logo to your amazing Prezi. Just remember, since a Prezi is technically one large image, you’ll have to add it in each slide you want it to be displayed.
Ok, ok, don’t let the name fool you. PowToon is a great alternative to free PowerPoint templates and Prezi. In fact, it’s known for its great ability to make explainer videos, infographics, and interactive presentations.
It’s also really intuitive, easy to use, and is also a web app, so you can access it anywhere. To help you insert your logo and make an amazing PowToon presentation, we’ve included instructions on how to do so.
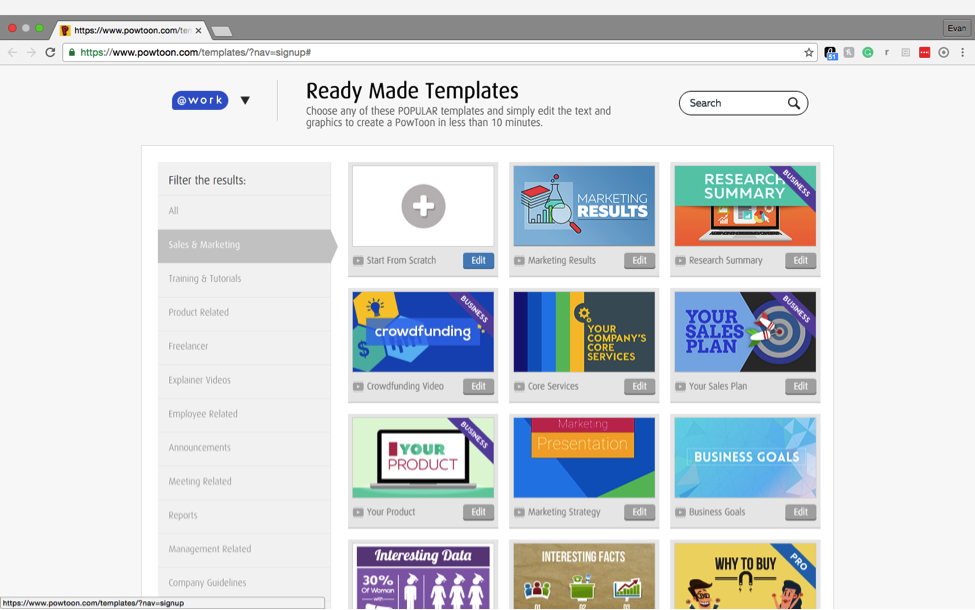
1. Head over to PowToon.com and log into your account. From there, choose to either edit an existing presentation or start a new one. Click the blue “Edit” button under the “Start From Scratch” option in the upper left corner to get started.
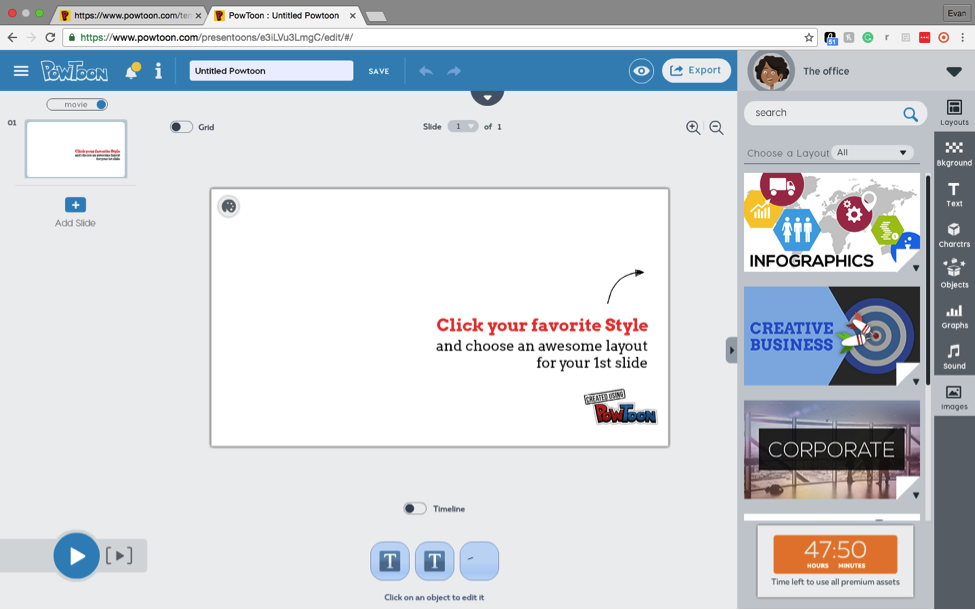
2. This will bring up a new presentation for you to edit.

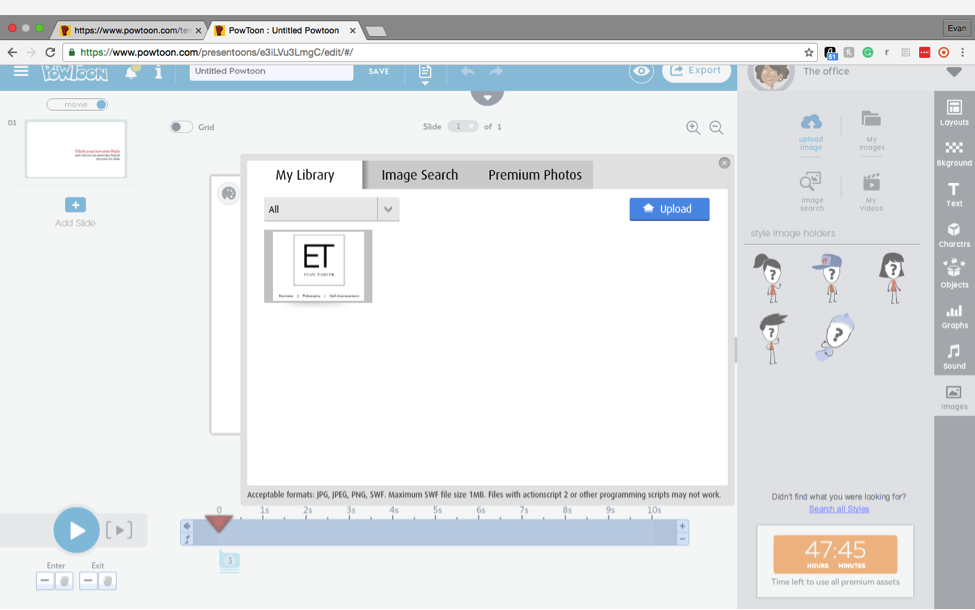
3. From there, navigate your cursor over to the side menu and click the image button at the bottom, highlighted in gray below.
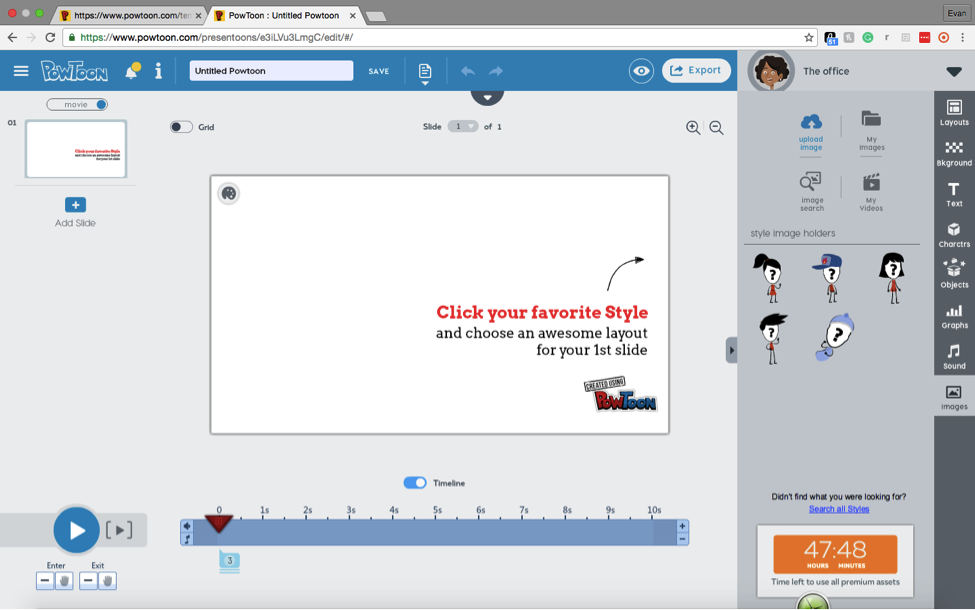
4. This will bring up the “Images” menu, where you can upload your logo. To do so, click the blue “Upload Images” button in the upper left corner.
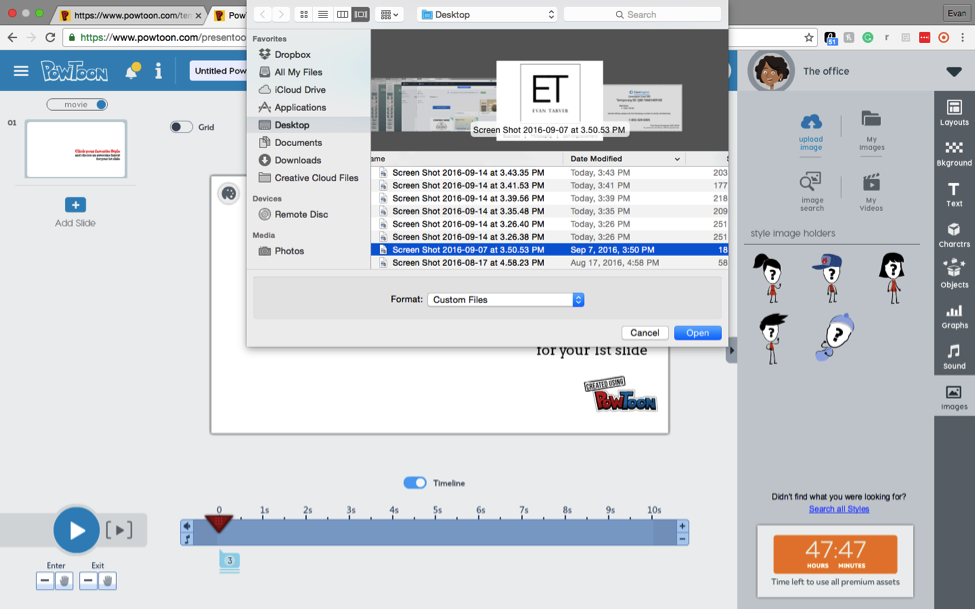
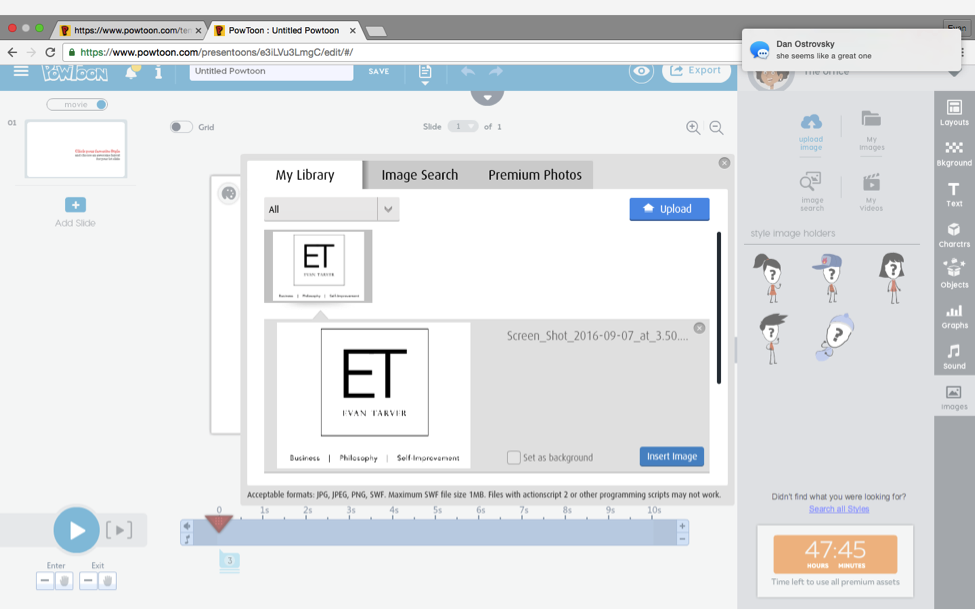
5. Now find the logo file on your computer and click “Open.”
6. This will add your logo to your library. Once it’s added, click on the logo and then click the blue “Insert Image” button.

7. Great! Your logo is now inserted into your slide. Move and resize it by clicking on the logo and dragging it around. However, you’ll need to do this for each slide.
Google Slides is an elegant presentation tool brought to you by Google. Similar to Prezi and PowToon, it’s an all-online tool that you can access from anywhere. However, you’ll need a Google account to create one.
If you have a Gmail account, this is a great option because it’s set up very similar to PowerPoint but is super easy to access and update. So, to help you add a logo to your Google Slides theme, we’ve outlined instructions below.
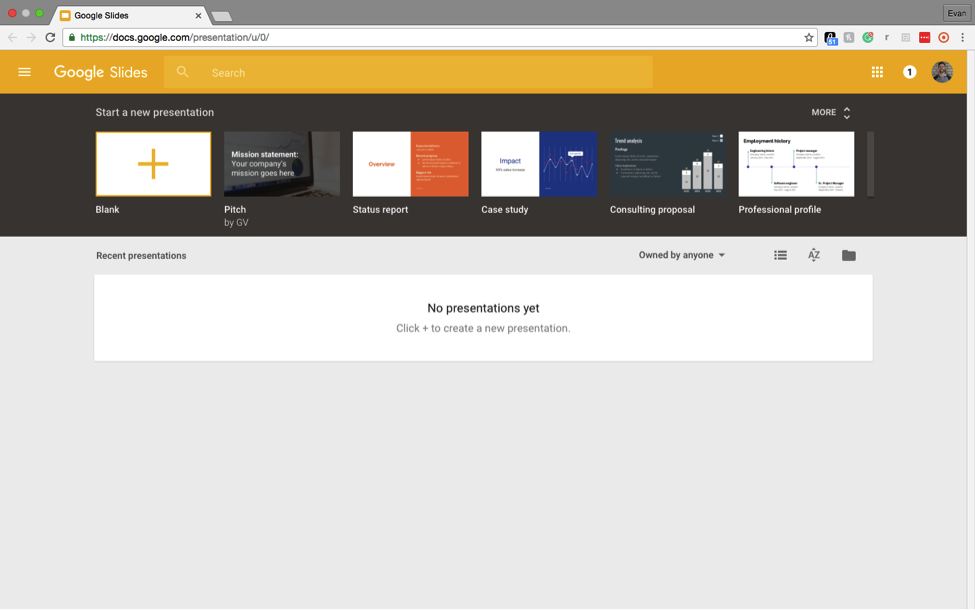
1. Start by accessing your Google Slides in your Gmail account and clicking the “Blank” document with a giant “+” sign in the upper left corner.
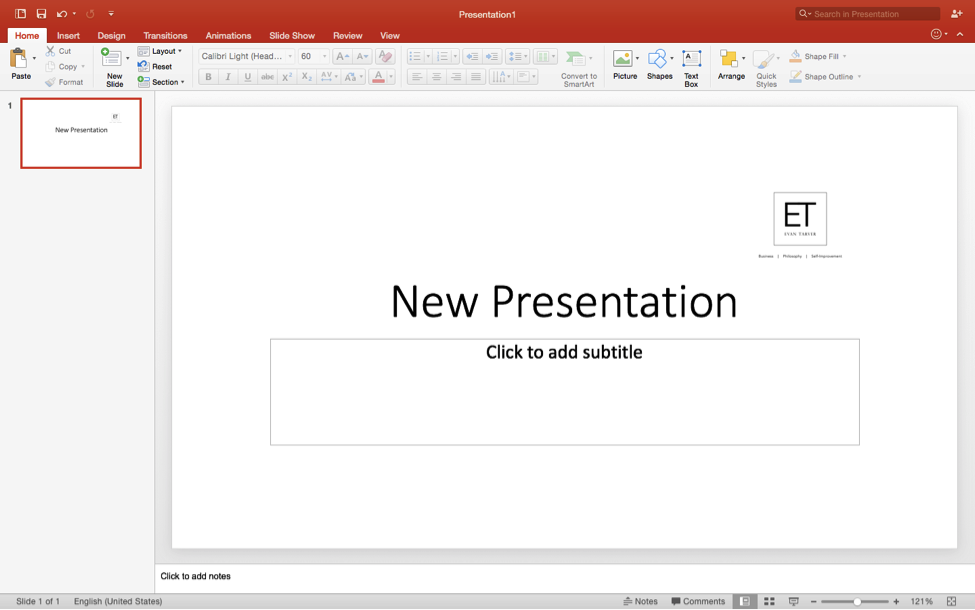
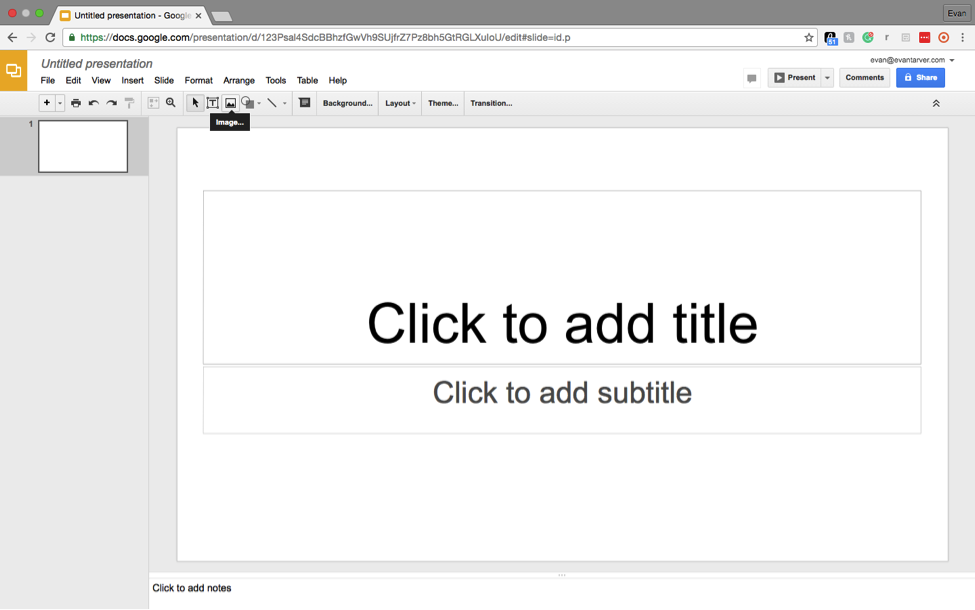
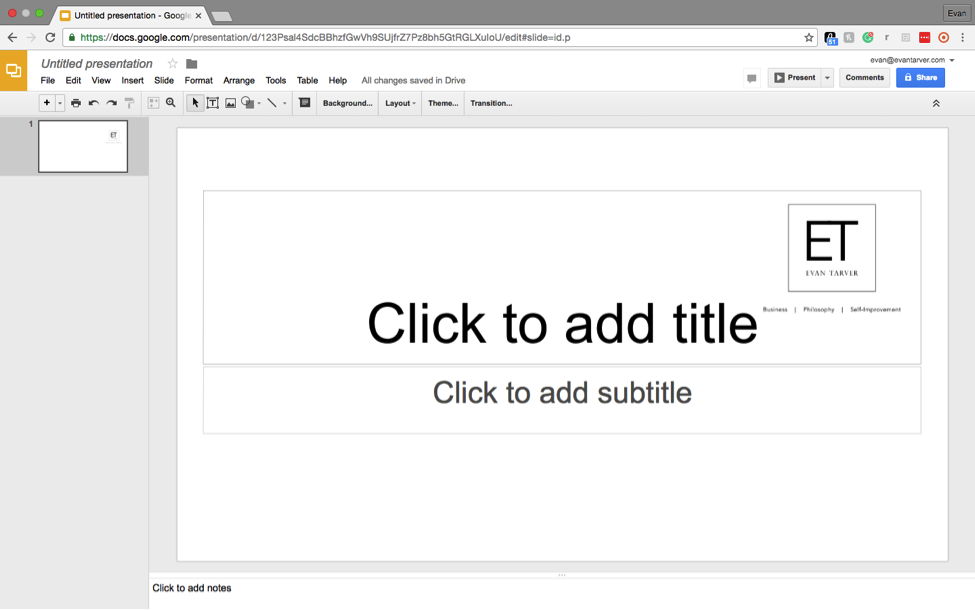
2. This will take you to a presentation interface that looks eerily similar to PowerPoint, shown below.
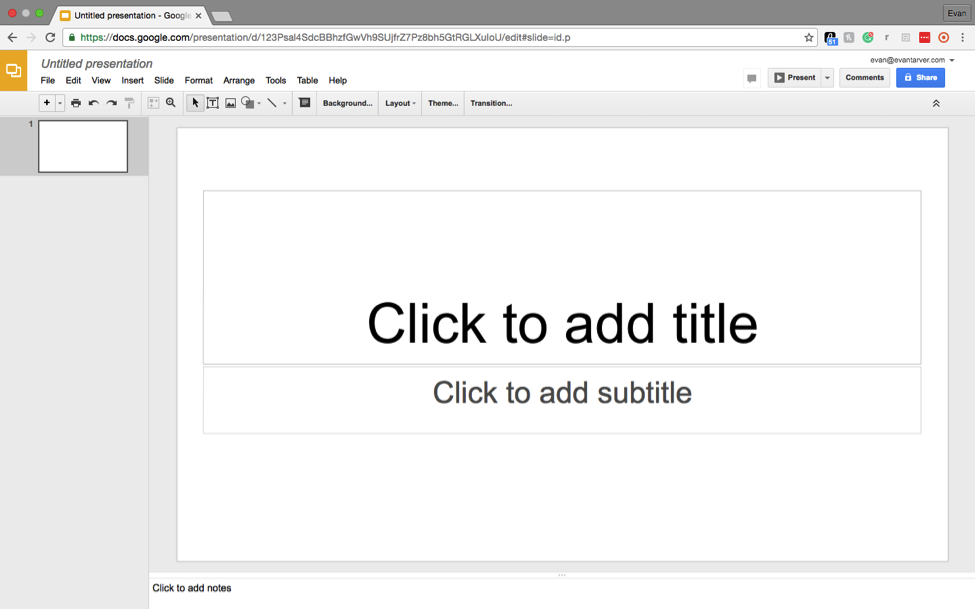
3. Navigate to the slide you want to add your logo to, and move the cursor up to the Image button in the top menu bar, highlighted with the word “Image,” seen below.

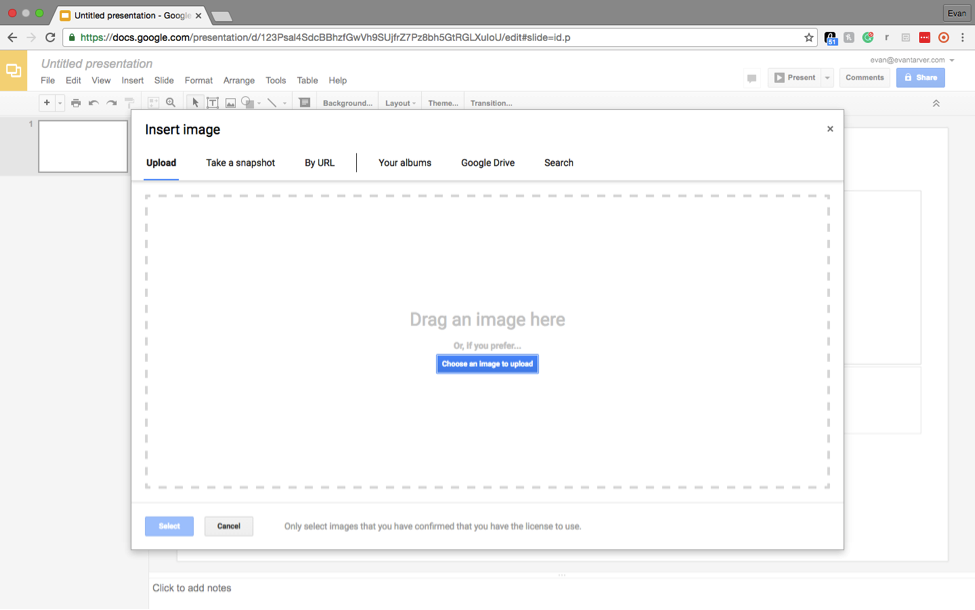
4. This will take you to the “Insert Image” menu where you can upload our logo by clicking the blue “Choose an Image to Upload” button.
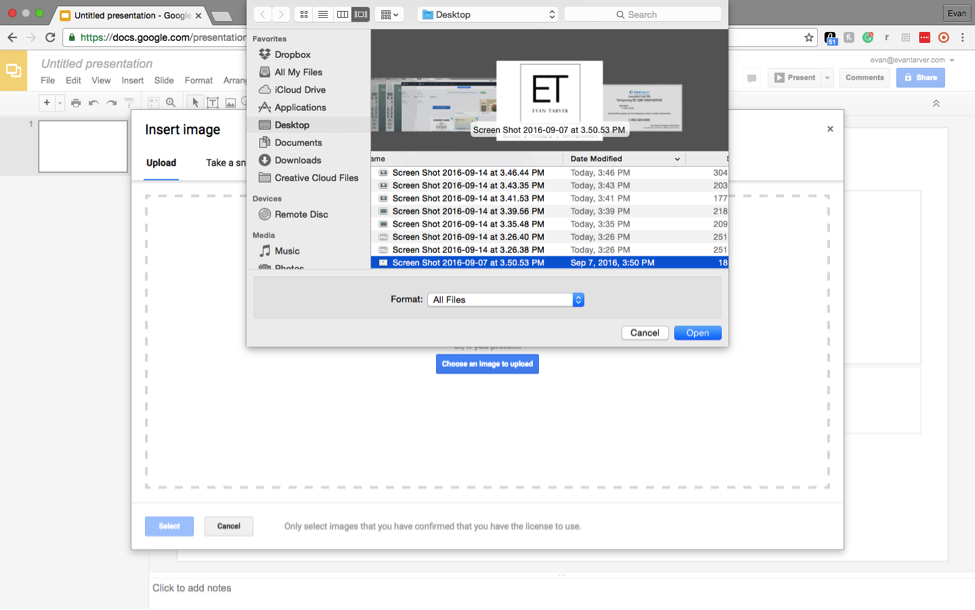
5. Once you click the button, find the logo file on your computer and click “Open.”
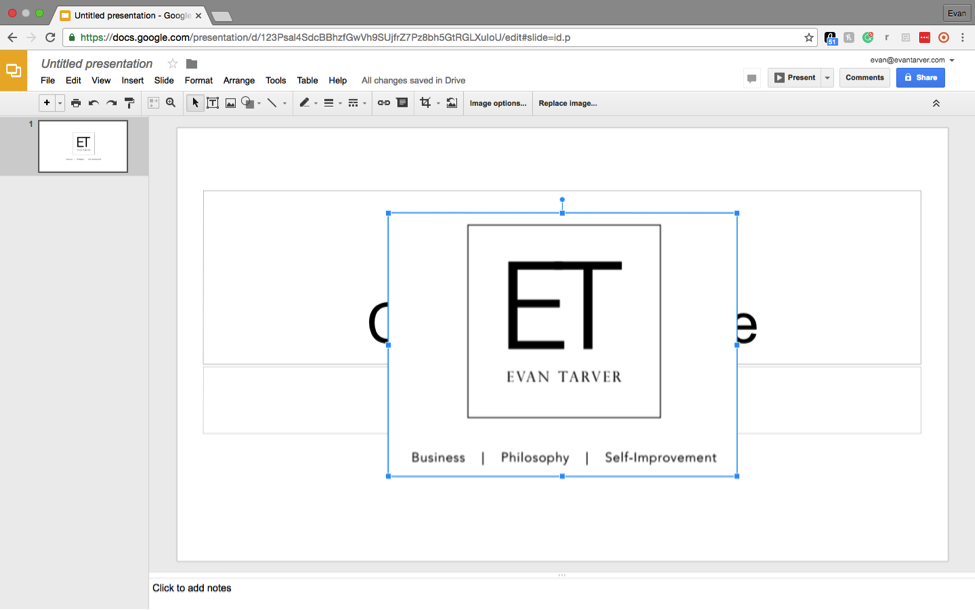
6. This will insert your logo directly into the slide you selected. From there, move and resize the logo by clicking on the image and dragging it around. Boom! You’ve inserted your logo into a Google Presentation. Just remember you’ll have to do this for each slide you want.
Keynote is the brainchild of Apple and is very similar in feel and navigation to PowerPoint. In fact, it’s almost exactly the same. It’s also exclusive for Macs and is the only piece of software on our list that costs money, save for PowerPoint. We, therefore, won’t go too far into it.
However, if you enjoy using Keynote and want to know how to add a logo to your presentation, don’t worry! We’ve still got you covered. Simply head to the PowerPoint section above and follow the steps with your Keynote presentation. You’ll have a branded logo in your presentation in no time!
Ready to Get Your Logo?
Rashana Ahluwalia is a writer at GraphicSprings, specializing in branding, marketing, and entrepreneurship. With a passion for creative expression, her articles provide valuable insights for businesses striving to stand out.